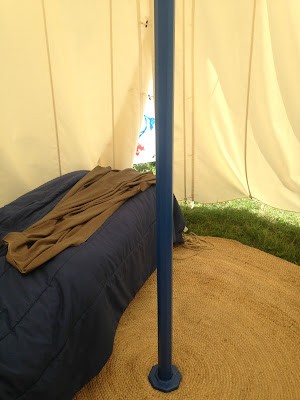
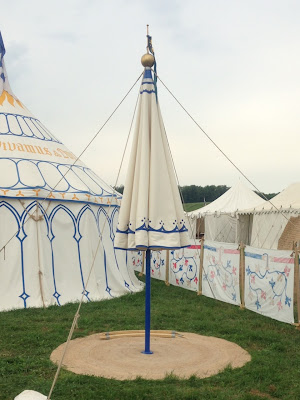
From top to bottom: 1 & 2 show the pavilion closed and open. 3 shows how channels are sewn to the bottom of the roof for the sectional hoop, with gaps between each panel to feed in the hoop sections. Below that is the inner valance, which neatly covers where the wall is joined to the roof with toggles. 4 shows how one panel of the hoop channel opens and closes with hooks and eyes, to allow the final two sections of the hoop to be manhandled into position if necessary. 5 & 6 show the interior of the tent as set up. The rug is eight feet in diameter and woven from jute, with a tarp cut to a slightly smaller diameter circle beneath. 7 shows the roof and center pole with walls and hoop removed, and suggests one possible reason why the word
pavilion was used both for this kind of tent and the
medieval umbrella. The hoop segments are on the rug behind the pole.
The pavilion is about 8'10" in diameter at the shoulder, and the walls and roof are each composed of 20 panels, about 16" wide from center of seam to center of seam at the shoulder. Loops on the roof and toggles on the wall are sewn at every seam and halfway between them. The doors close with toggles rather than ties, which seems to be a more convenient alternative. The hoop is composed of eight segments, with each join a skarf joint between two steel bands.
Fabric loops at the bottom of the wall for stakes seems to have been a design that came in with the sewing machine. This pavilion ties the wall to stakes with cords: this approach is often seen in medieval art, and allows a more flexible response to uneven ground.
The roof panels are cut with one edge on the warp and the bias edge cut with a slight concave curve.
For more on this project, look
here.


1 comment:
Your block has been invaluable to me, many thanks for your research and documentation! I'm making my first hoop-spread pavilion this summer.
Post a Comment